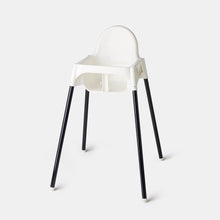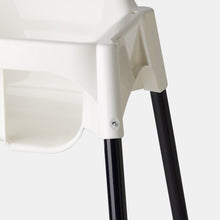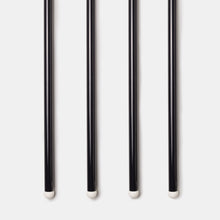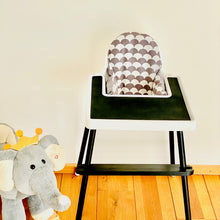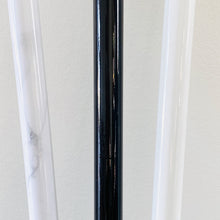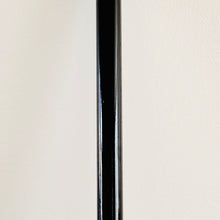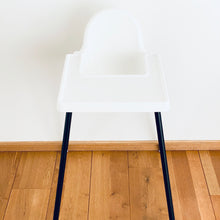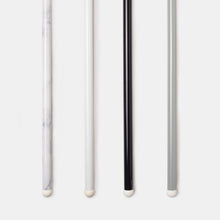
The Chameleon Leg Stickers make it a breeze to transform the legs of your Ikea Antilop highchair in a matter of minutes. Simply choose your ideal colour, peel off the stickers and attach to the legs. Voila - look transformed in an instant!
Top Tips: Make sure the legs are dry and clean before attaching the stickers. Start by placing one side of the stickers by the base of the leg, and gently run your finger up towards the top of the leg, attaching the sticker as you go. Make sure the sticker is straight before fully attaching it. Brush out any air bubbles with your hand, or if necessary take a needle and pick a small hole in the bubble before smoothing it out with your hand.
Full Installation Instructions:
***Front legs: make sure to place the sticker with the seam on the opposite side of the push button at the top of the leg***
1. Remove the front legs from the highchair.
2. Peel off the first sticker from the sheet.
3. Place the sticker at the bottom of the highchair leg, lining it up against the white 'foot' of the footrest and gently press down.
4. Keep the sticker centered and smooth by running your hands up and down, smoothing out any bubbles as you go.
5. Wrap around the leg, one side at a time, smoothing out as you go.
6. Finally run your hands up and down applying strong pressure on the seam to ensure that it's properly stuck.
7. Repeat for the second front leg.
8. For the back legs, see below to decide where you would like the seam to be and then follow steps 1-8 above.
-If the back of your chair is facing into the room, you may choose to have the seems facing towards the middle of the chair. In this case place the seam on the opposite side of the push button, just as you did for the front legs.
-If on the other hand you have the back of the highchair against a wall, you may wish to place the seam at the back of the legs. In this case place the seam on the same side as the push button at the top of the highchair.
9. Repeat the same steps for the 2nd back leg.
Installation instruction video: here
Team with our popular wooden footrests here


